When you first dive into the vibrant world of CS2 skins, the sheer artistry and variety can be intoxicating. You spot a dazzling new finish, your heart races, and you’re ready to buy. But hold on—the true value of that skin often hides beneath its surface, visible only through a keen eye and an understanding of CS2 Skin Inspection Fundamentals. This isn't just about admiring pixels; it's about mastering the critical details that transform a good deal into a great one, and a potential scam into a confident purchase. Whether you’re a seasoned trader, an aspiring collector, or just someone who wants to know exactly what they’re getting, learning to inspect skins is your most powerful tool.
At a Glance: Becoming an Inspection Ace
- Float Value is King: Understand how 'float' dictates a skin's wear, from Factory New to Battle-Scarred, and why it's more nuanced than you think.
- Patterns Matter Immensely: Discover how unique pattern indexes can multiply a skin's value, especially for rare finishes like Case Hardened or Dopplers.
- Stickers Tell a Story: Learn to evaluate applied stickers—their rarity, position, and wear—which can add significant overpay.
- Wear Zones are Critical: Realize that not all wear is equal; some skins hide their float better than others, requiring visual scrutiny.
- Tools Are Your Friends: Leverage both in-game inspection and third-party sites for a comprehensive view of a skin's attributes.
- Trust, But Verify: Always inspect skins yourself before any trade or purchase to avoid costly mistakes.
Why Mastering Inspection Is Your Ultimate Superpower
Think of a skin not just as a cosmetic item, but as a digital asset with a unique fingerprint. Just like a vintage car's mileage and condition affect its price, a CS2 skin's specific attributes profoundly impact its market value. Without understanding these nuances, you’re flying blind in a market where savvy buyers and sellers leverage every detail.
Learning to inspect skins empowers you in several key ways:
- Informed Purchases: Stop overpaying for skins that merely look good.
- Savvy Trading: Identify undervalued gems and negotiate confidently.
- Scam Prevention: Spot manipulated images or mislabeled items.
- Appreciation: Develop a deeper understanding and appreciation for the craftsmanship and rarity of your collection.
It’s about moving beyond the superficial "Factory New" label and digging into the granular data that truly defines a skin's worth.
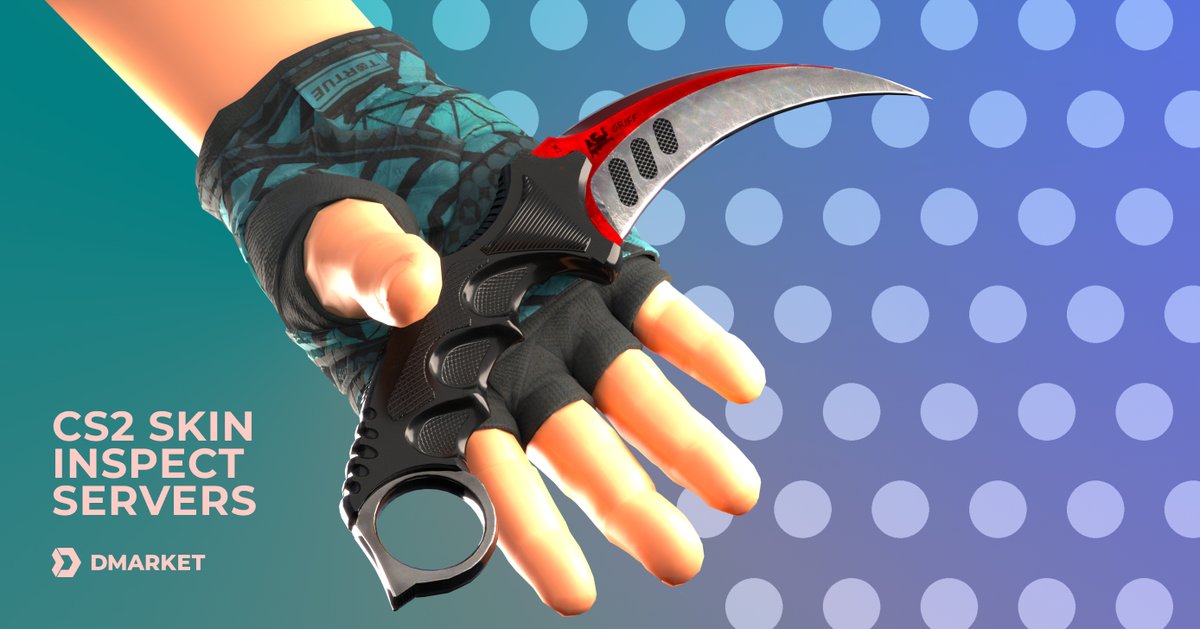
Your Command Center: The Inspection Window
Every CS2 player has access to the most basic inspection tool: the in-game window. Whether you’re hovering over an item in your inventory, checking out a listing on the Steam Community Market, or viewing a trade offer, you can usually right-click and select "Inspect."
Inside the Game: What You See
When you inspect a skin in CS2, you’ll typically see:
- The Skin Itself: A 3D model you can rotate, zoom in on, and sometimes even equip.
- Item Name & Rarity: Self-explanatory, like "AK-47 | Case Hardened" (Covert).
- Condition/Wear Rating: The general category, such as "Factory New" (FN), "Minimal Wear" (MW), "Field-Tested" (FT), "Well-Worn" (WW), or "Battle-Scarred" (BS). This is the initial, broad indicator of wear.
- Sticker Slots: Any applied stickers and their condition.
- StatTrak™ Counter (if applicable): Displays the kill count.
This initial view is crucial for a quick assessment, but it’s just the tip of the iceberg. To truly understand a skin, you need to delve deeper than these surface-level details.
Deciphering Float Value: The Heart of Condition
The single most critical piece of information for any CS2 skin inspection is its float value. This is a numerical representation of a skin’s wear, ranging from 0.00 (perfectly Factory New) to 1.00 (completely Battle-Scarred). Every skin in CS2 has a unique float value that is permanently assigned the moment it's generated.
The Float Spectrum and Wear Categories
Here's how float values map to the general wear categories:
- Factory New (FN): 0.00 – 0.07
- Minimal Wear (MW): 0.07 – 0.15
- **Field-Tested (FT):15 – 0.38
- Well-Worn (WW): 0.38 – 0.45
- Battle-Scarred (BS): 0.45 – 1.00
Why Float is More Specific Than the Category:
Imagine two cars, both labeled "used." One might have 5,000 miles, the other 100,000. They're both "used," but their value is drastically different. The same applies to CS2 skins. A skin with a float of 0.07 (barely Minimal Wear) will look much cleaner and be significantly more valuable than one with a float of 0.14 (almost Field-Tested), even though both are technically Minimal Wear.
Conversely, a "low float" Field-Tested skin (e.g., 0.15001) can sometimes look almost indistinguishable from a high-float Minimal Wear skin, yet often trades at a lower price point purely due to its category. This is a common sweet spot for smart buyers.
The Impact of Float on Value
- Lower Float = Higher Value: Generally, the closer a skin's float is to 0.00, the more expensive it will be within its wear category. A truly "perfect" 0.00 float skin is exceptionally rare and commands a premium.
- The 'Sweet Spot' Phenomenon: Certain skins, particularly those with intricate designs that show wear poorly, can be highly sought after even in Field-Tested or Well-Worn conditions if they have a low float for that category. These often offer a "budget-friendly clean look."
- High Float Can Also Be Desirable (Sometimes): For some Battle-Scarred skins, a very high float (close to 1.00) can create unique visual effects, like blacked-out patterns or extreme distressing, which can ironically add to their appeal for niche collectors.
Clarification: You can't see the exact float value directly in the official CS2 inspection window. For this, you'll need external tools or browser extensions, which we'll discuss later.
Pattern Index: Unmasking Rarity and Aesthetics
While float value tells you how worn a skin is, the pattern index tells you which version of that skin you have. Many skins, especially those with randomized patterns like Case Hardened, Dopplers, Fade, or Slaughter, derive a huge portion of their value from this index.
Think of it like a randomized textile print. You might get a standard pattern, or you might get one where a specific, rare arrangement of colors or shapes appears prominently.
How Pattern Index Works
Every time a pattern-based skin is generated, it's assigned a random pattern index number (typically from 0 to 999). This number determines how the specific texture of the skin is applied to the 3D model.
Iconic Examples of Pattern Impact
- Case Hardened Blue Gems: The legendary AK-47 | Case Hardened (and other Case Hardened skins) are famous for their "Blue Gem" patterns. These occur when a very high percentage of blue coloration appears on the top-facing side of the weapon. Specific pattern indexes (e.g., #661 for the AK-47) are known to be the most desirable, fetching tens or even hundreds of thousands of dollars. A skin with mostly yellow/gold will be worth significantly less, even with the same float.
- Doppler Phases: Knives like the M9 Bayonet | Doppler come in different "phases" (Phase 1, 2, 3, 4, Ruby, Sapphire, Black Pearl). These phases are determined by their pattern index, resulting in distinct color combinations (e.g., Phase 2 is mostly pink/blue, Ruby is solid red). The rarer phases (Ruby, Sapphire, Black Pearl) command massive premiums.
- Gamma Doppler Emeralds: Similar to Dopplers, Gamma Dopplers can yield an "Emerald" phase (solid green), which is the rarest and most valuable.
- Fade Percentages: Skins like the Karambit | Fade have a "fade percentage," which dictates how much of the blade shows the vibrant fade effect. A 100% fade (determined by pattern index) is the most sought after.
- Slaughter Patterns: Butterfly Knife | Slaughter skins can have rare "heart" or "diamond" patterns prominently displayed, increasing their value.
Crucial Takeaway: For pattern-based skins, the pattern index is often more important than the float value when determining extreme high-end value. A high-float Blue Gem can still be worth vastly more than a Factory New, standard Case Hardened.
Stickers and Their Story: Adding a Layer of Value
Applied stickers can dramatically affect a skin's value, sometimes adding significant overpay, other times detracting from it. It's a complex sub-economy with its own set of inspection rules.
What to Look For:
- Sticker Rarity and Price: Is the sticker itself rare, expensive, or from a discontinued capsule? Old Katowice 2014 stickers, for instance, can be worth hundreds or even thousands of dollars each.
- Sticker Condition (Scratch Percentage): Stickers, like skins, can be "scratched" in-game. A perfectly intact sticker is always more valuable than a scratched one, especially for rare stickers.
- Positioning: Where is the sticker placed? A perfectly centered, aesthetically pleasing placement on a prominent part of the weapon will add more value than one clumsily slapped on an obscure spot.
- The "Craft": The combination of a skin and its stickers is called a "craft." A desirable craft involves rare stickers on a popular skin, often matching colors or themes. For example, a "Titan (Holo) Katowice 2014" sticker on a "StatTrak™ M4A4 | Howl" is a legendary, multi-thousand-dollar craft.
- Overpay vs. Detraction: Some stickers, especially cheap or ugly ones, can actually detract from a skin's value if they're not easily removed or if they ruin the aesthetic. Generally, most people prefer clean skins without cheap stickers.
Pro Tip: Some third-party inspection tools can even tell you the exact scratch percentage of an applied sticker.
StatTrak™: Tracking Your Triumphs (and Value)
StatTrak™ items are special versions of skins that feature a digital counter, tracking the number of kills made with that weapon by its owner.
Key Aspects of StatTrak™:
- Adds Value: StatTrak™ versions of skins are almost always more expensive than their non-StatTrak™ counterparts. The premium varies, but it's typically significant, especially for popular weapons and skins.
- No Impact on Float or Pattern: The StatTrak™ module itself doesn't affect the skin's float value or pattern index. A Factory New StatTrak™ AK-47 | Redline still has its own unique float and pattern like any other.
- Not All Skins Have StatTrak™: Knives, gloves, and certain specific skins (like the M4A4 | Howl) do not come in StatTrak™ versions.
When inspecting, simply note the presence of the StatTrak™ counter and ensure it matches what you expect. The kill count itself doesn't typically affect market value for resale, though some collectors might prefer a low count.
Wear Zones and How to Spot Them
This is where the visual aspect of inspection truly shines. While float value gives you a numerical indicator of wear, it doesn't always tell the full story of how that wear manifests visually on a specific skin. Different skins wear in different places, and some are much better at "hiding" their float than others.
Key Principles:
- Skin-Specific Wear: An AK-47 | Redline might show wear on its muzzle and magazine, while an AWP | Asiimov might scuff along the scope and stock. You need to learn the common wear zones for skins you're interested in.
- "Clean" Floats vs. "Battered" Floats: Two skins can have the exact same float value (e.g., 0.20 Field-Tested), but one might look much cleaner due to where the wear is applied by the game's engine. If the wear is on an obscure, less visible part of the weapon, it's often more desirable.
- Blacked-Out Barrels: For some skins, a high float Battle-Scarred can result in the entire barrel or other parts turning completely black, which can be an appealing aesthetic for some collectors, driving up value.
- "Corners Only" Wear: Some skins only show wear on the very edges or corners, even with a relatively high float, making them appear cleaner than their float suggests.
Your Action: After checking the float (using external tools), always visually inspect the skin in the highest quality possible. Rotate it, zoom in, and scrutinize all angles. Compare it to other similar skins if possible.
Beyond the Game: External Inspection Tools
While the in-game inspection is a start, it's severely limited. To truly master CS2 skin inspection, you'll need to leverage third-party websites and browser extensions. These tools provide the granular data that Steam itself doesn't.
Many external tools allow for detailed inspection, often presenting the float value, pattern index, and even sticker scratch percentages in a clean, easy-to-read format. They often feature 3D viewers that load models faster and offer more robust viewing options than the in-game client. Some sites will even compare a skin's current market value against historical data, helping you identify good deals.
This kind of deep dive into a skin's attributes is key to making informed decisions, especially when you're looking to acquire something truly special. You might use these tools to preview a skin's wear zones, check its exact float, and verify its pattern before making a purchase. This holistic approach ensures you understand every facet of a skin's value, much like you would if you were inspecting and generating CS2 skins for yourself.
Common Pitfalls & Pro Tips for Aspiring Inspectors
Even with the knowledge of float and pattern, it's easy to make mistakes. Here’s how to avoid common pitfalls and elevate your inspection game.
Don't Fall for These Traps:
- Relying Solely on Wear Category: Never assume a "Minimal Wear" skin looks perfectly clean. Always check the exact float. A high-end MW (0.14) can look much worse than a low-end FT (0.15).
- Ignoring Pattern for Certain Skins: For Case Hardened, Doppler, Fade, or Slaughter skins, overlooking the pattern index is akin to throwing money away. Always verify the pattern.
- Being Fooled by Screenshots: Screenshots can be misleading. Lighting, angles, and even image manipulation can make a skin look better than it is. Always inspect in-game or via a trusted 3D viewer.
- Overlooking Sticker Condition/Position: A rare sticker poorly placed or heavily scratched might not add the value you expect, or worse, make the skin harder to sell.
- Buying Into Hype Without Verification: Just because a streamer or friend says a specific float or pattern is "god tier" doesn't mean it is. Do your own research and verify against established market knowledge.
Your Pro Inspection Playbook:
- Verify Float Immediately: This is your first line of defense. Use a browser extension or a dedicated inspection site to get the exact float value.
- Check Pattern Index for Relevant Skins: If it’s a pattern-based skin, immediately check its pattern index and cross-reference it with known desirable patterns.
- Visual Scrutiny: Load the skin in a 3D viewer. Rotate it slowly, zooming in on all areas. Pay extra attention to the common wear zones for that specific weapon. Does the float match what you're seeing visually?
- Evaluate Stickers: Assess rarity, scratch percentage, and placement. Does the "craft" enhance or detract from the skin?
- Cross-Reference Prices: Compare the inspected skin's price against similar skins with comparable float, pattern, and stickers on multiple marketplaces. Look at recent sales data if available.
- Always Inspect Before Trade/Purchase: This cannot be stressed enough. Never accept a trade or complete a purchase without personally inspecting the item.
Elevate Your Game: Making Inspection Second Nature
Mastering CS2 skin inspection isn't just about avoiding bad deals; it’s about opening up a whole new layer of the game. It transforms you from a casual browser into an informed collector, a sharp trader, and a true connoisseur of digital art. You'll begin to see the subtle differences, appreciate the rarity of a perfect float, and understand why certain patterns command exorbitant prices.
This journey starts with curiosity and ends with confidence. The more you inspect, the faster you'll recognize key attributes, the better your eye will become for nuanced wear, and the more precise your understanding of market value will be. Take the time to apply these fundamentals with every skin you encounter, and you'll find that your appreciation, and your arsenal, will be significantly richer for it. Happy inspecting!